How do I adjust my suspension fork correctly?
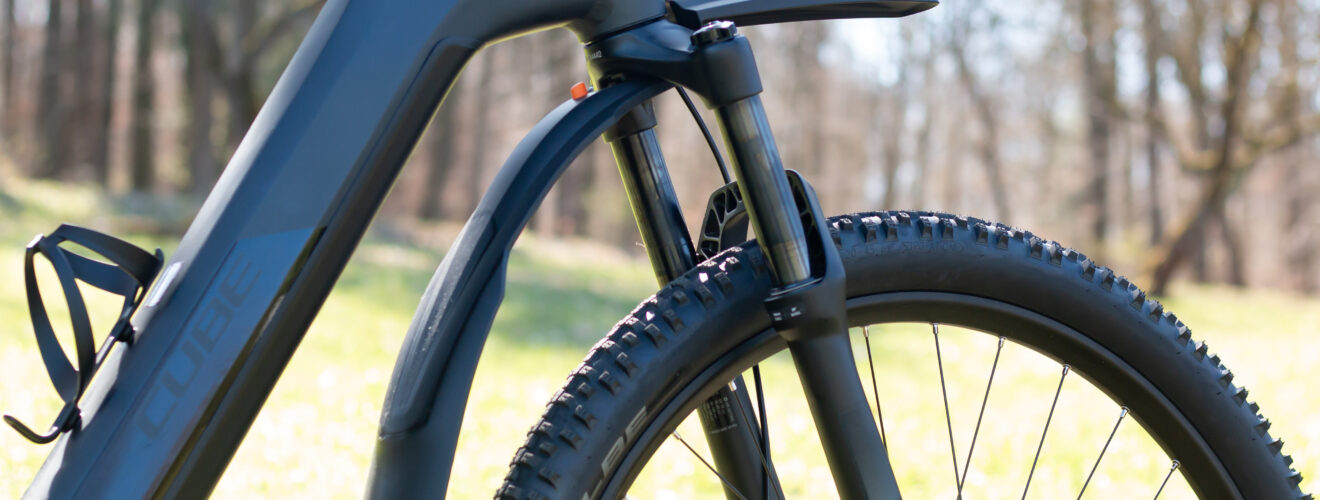
If the fork is set too hard or too soft, this will become noticeable relatively quickly. If the handling changes, you should adjust the suspension and adapt it to your needs. We show you what you need and how to adjust the suspension fork step by step.
Required tools:
- Shock pump with pressure gauge
- O-ring or cable tie
- Measuring tape or meter stick
- Cleaning cloth
Adjust suspension fork:
Turning out the rebound damping
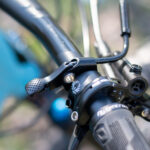
On the bottom of the suspension fork there is a knob that you turn counter-clockwise to adjust the rebound to the most neutral position.
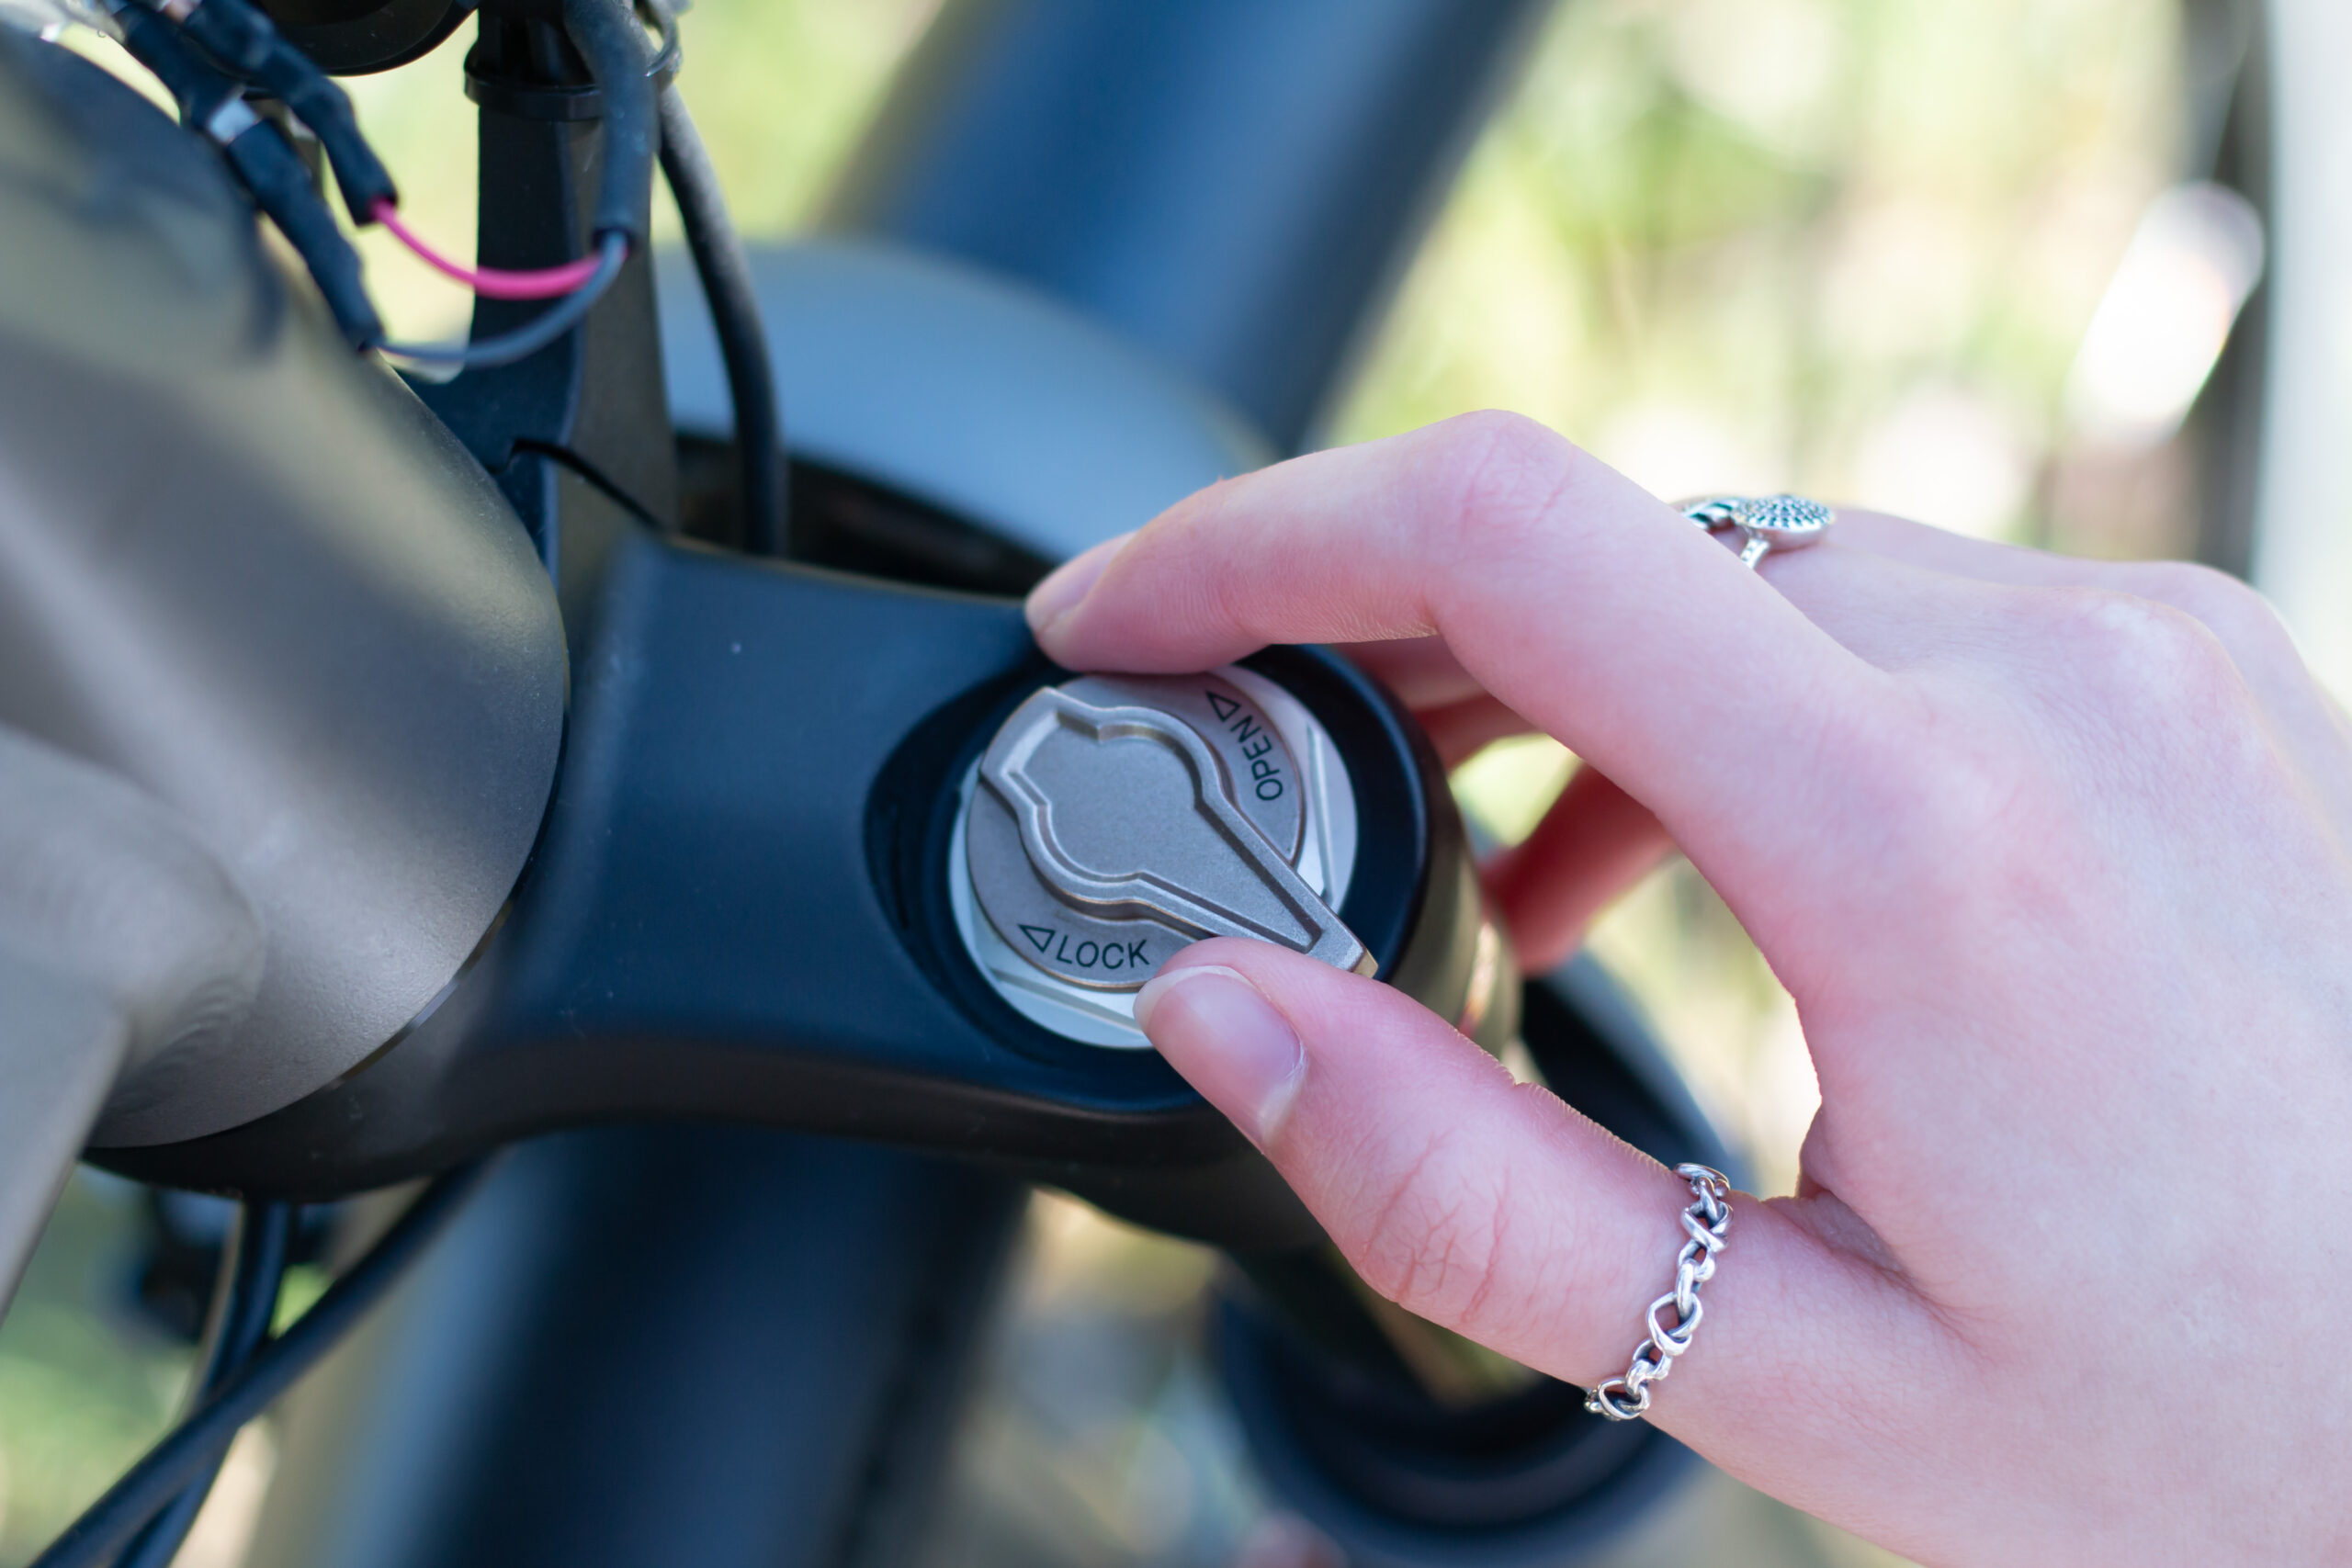
Turning out the compression damping
Turn the compression damping knob counterclockwise to remove the damping from the suspension element.
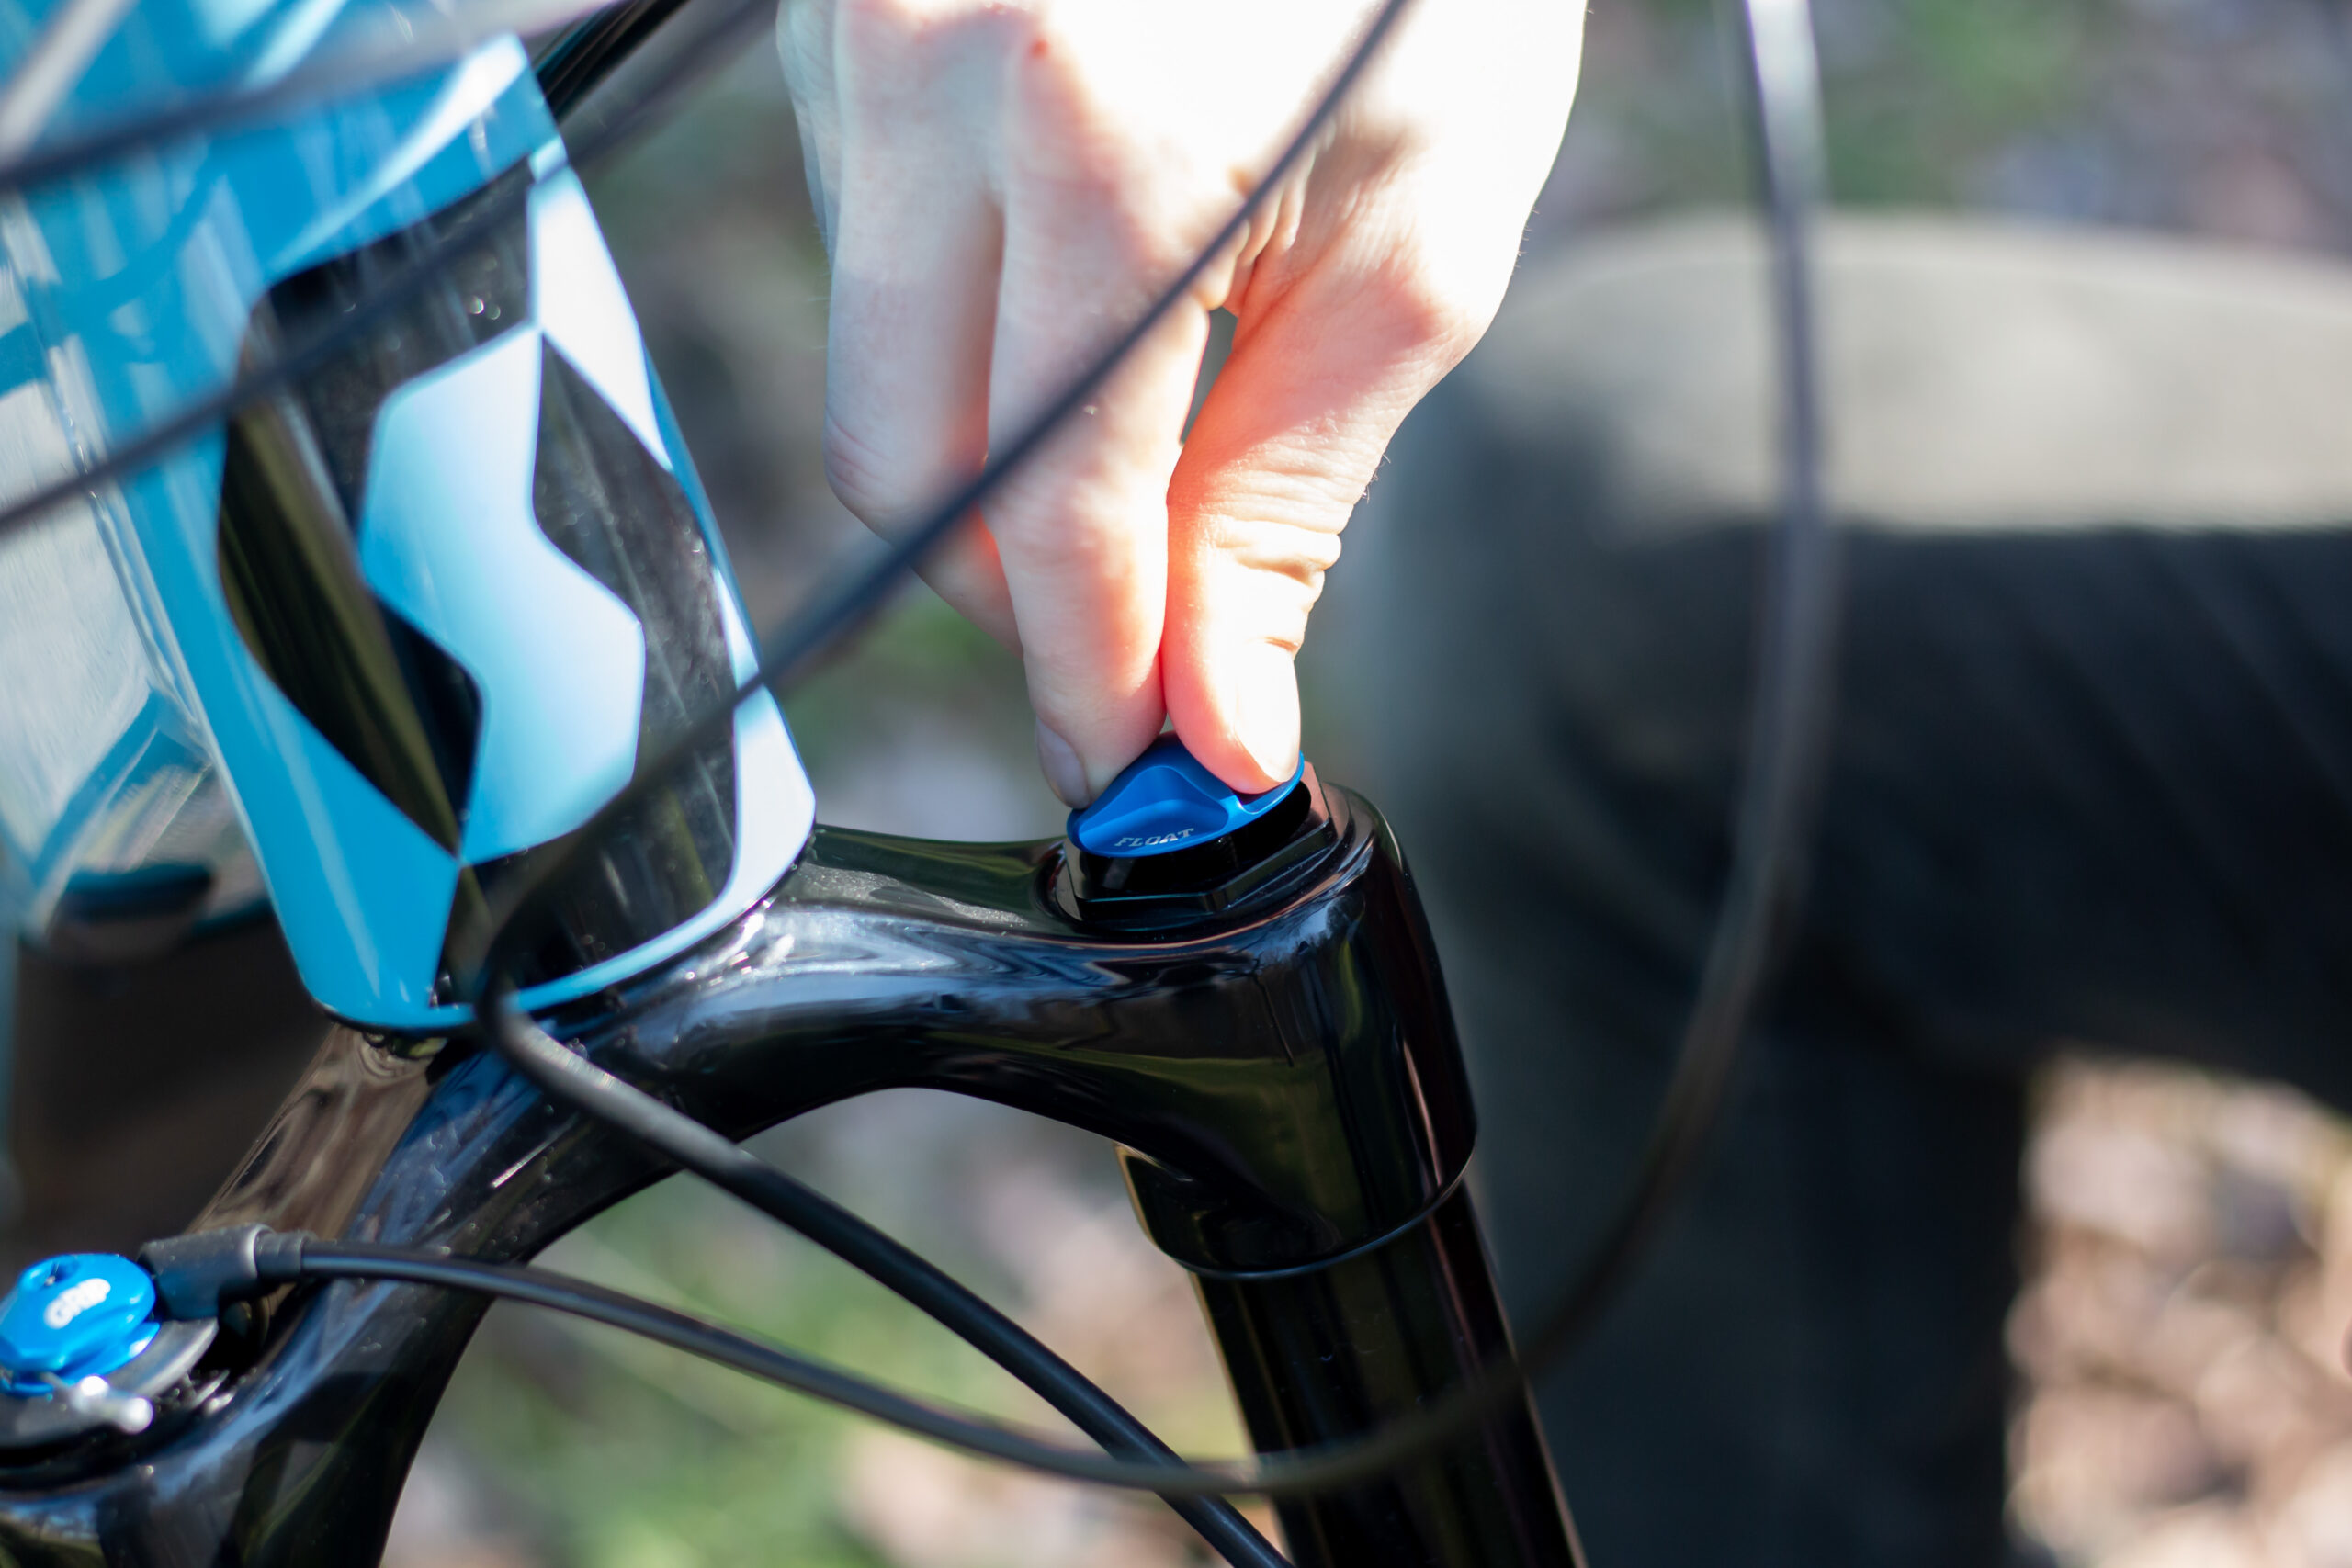
Deflate – determine maximum stroke
Using a pointed object, carefully press on the valve located under the valve cap to release the air completely from the air chambers.
Press down the O-ring
Push the O-ring up to the seal of the dip tube. Alternatively, a cable tie can be used.
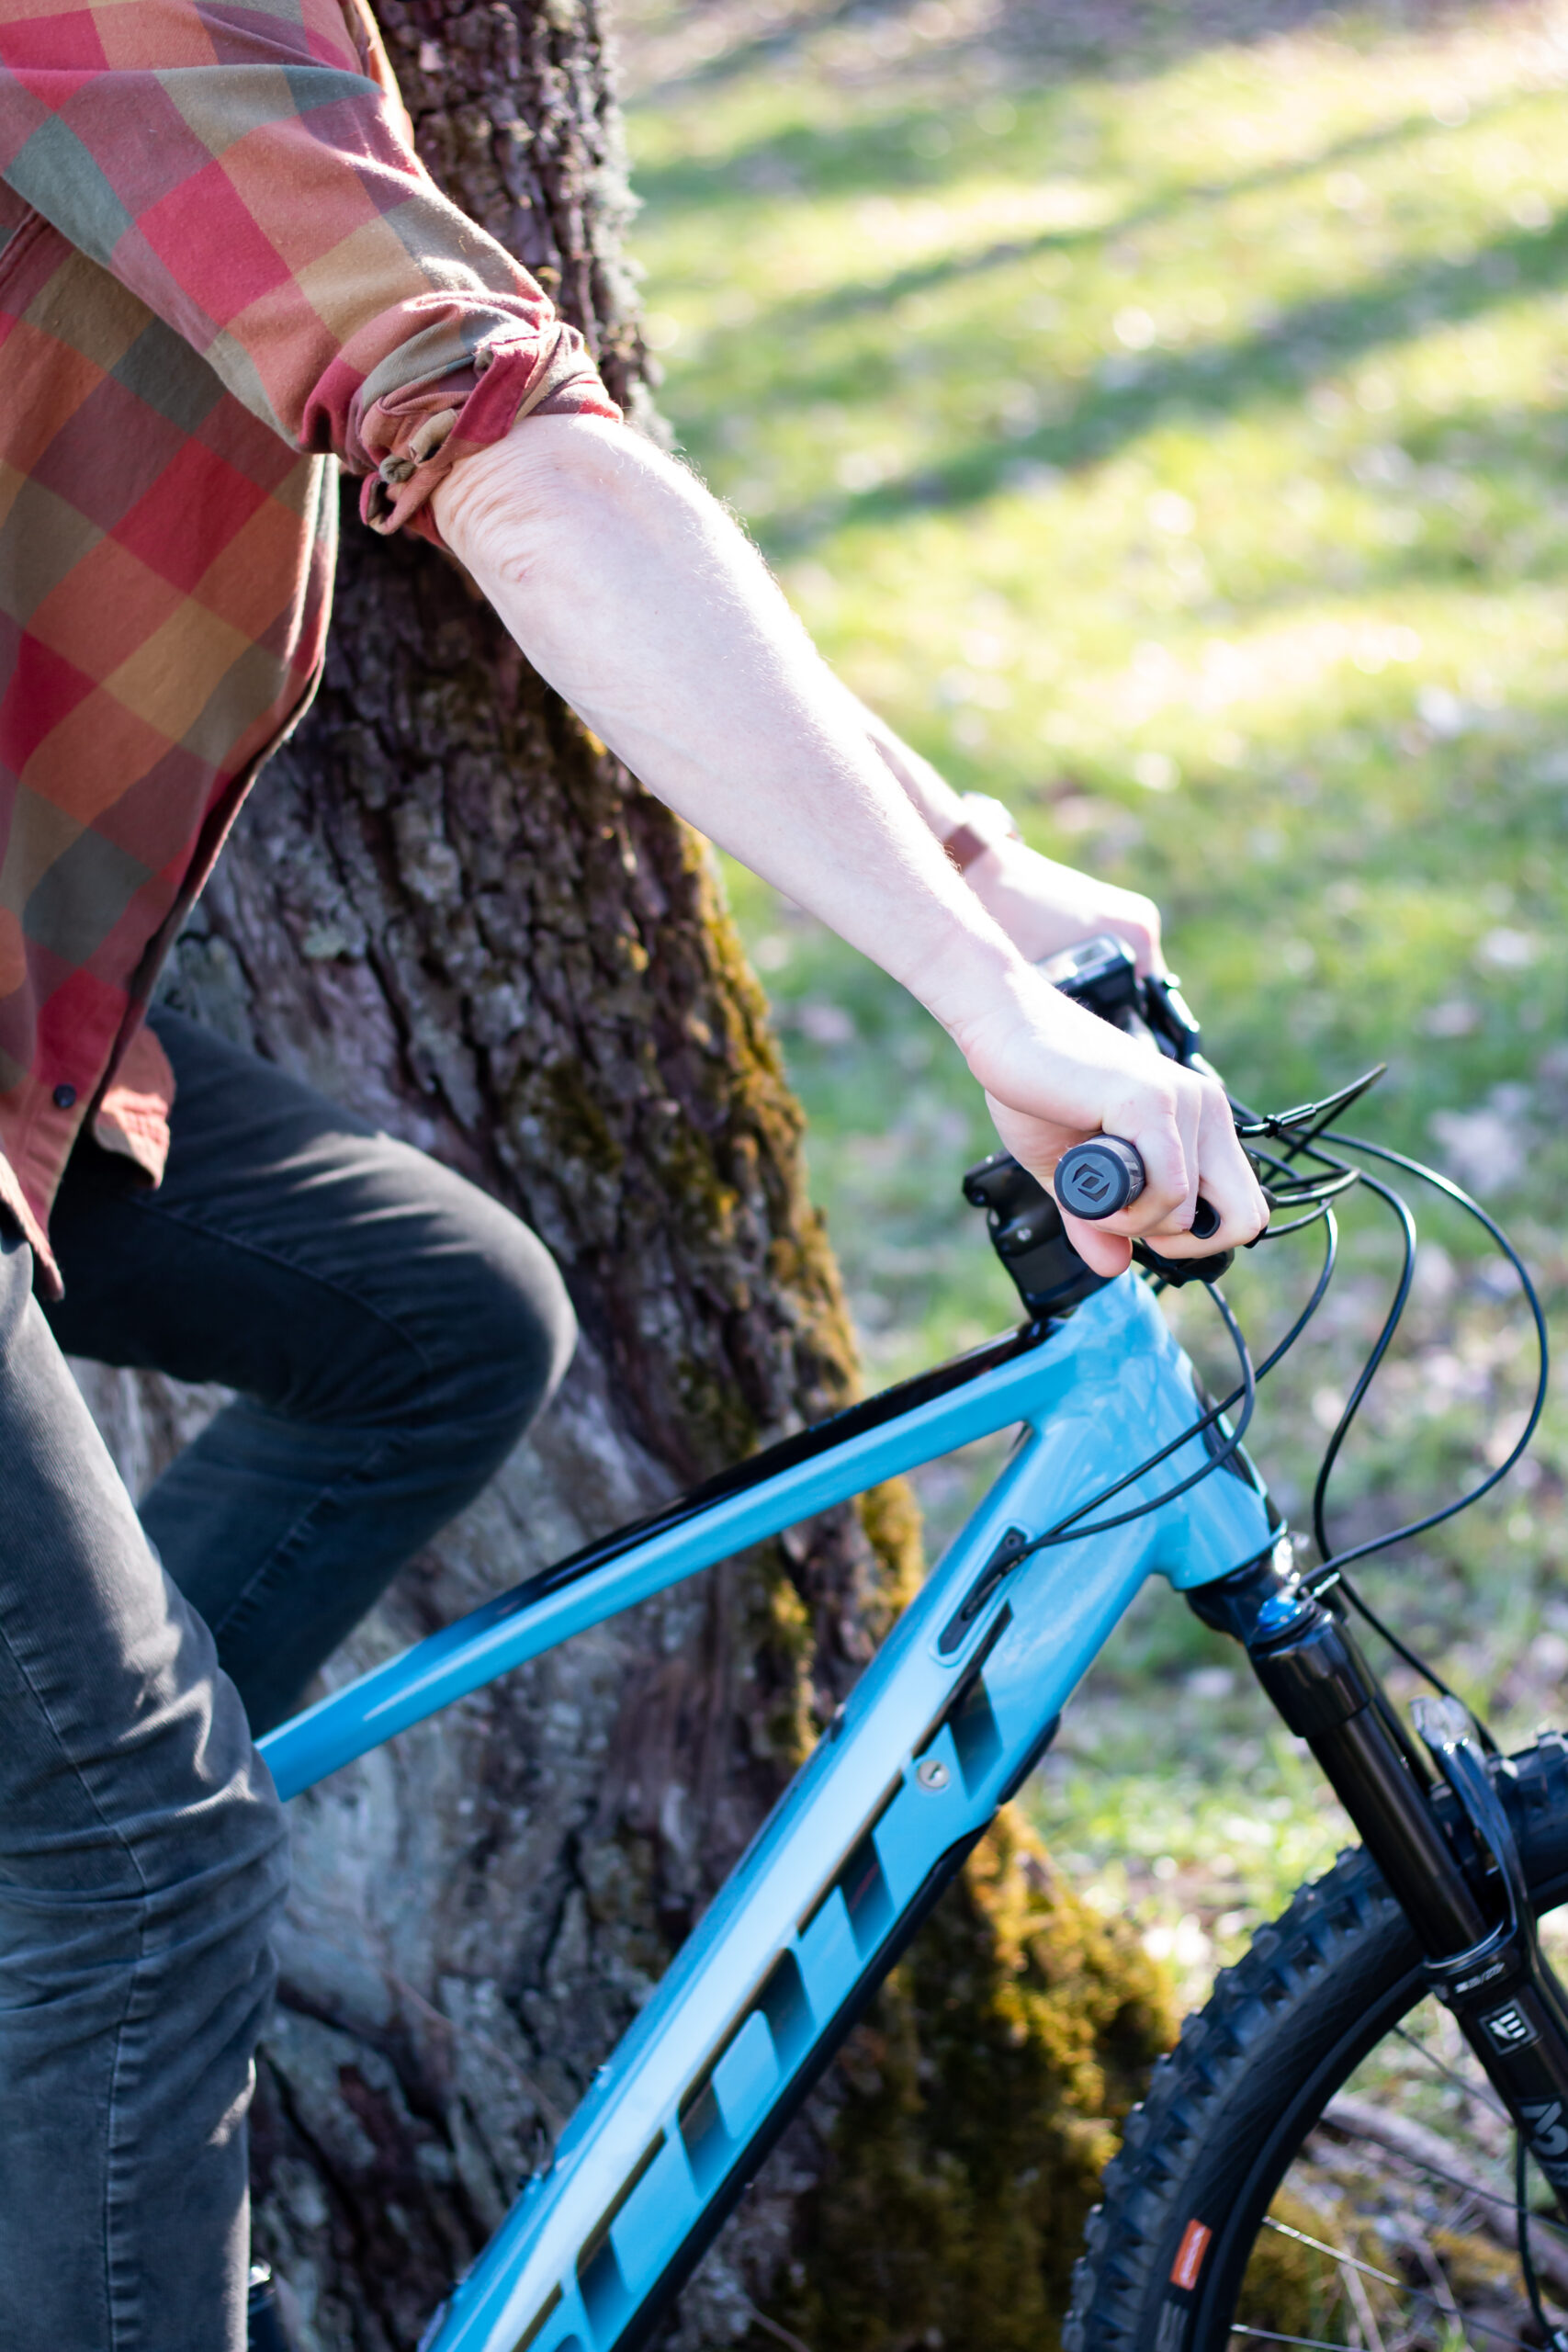
Compress the fork
Now press the suspension fork completely down to the stop. If it does not stop, there is still some air in the chambers.
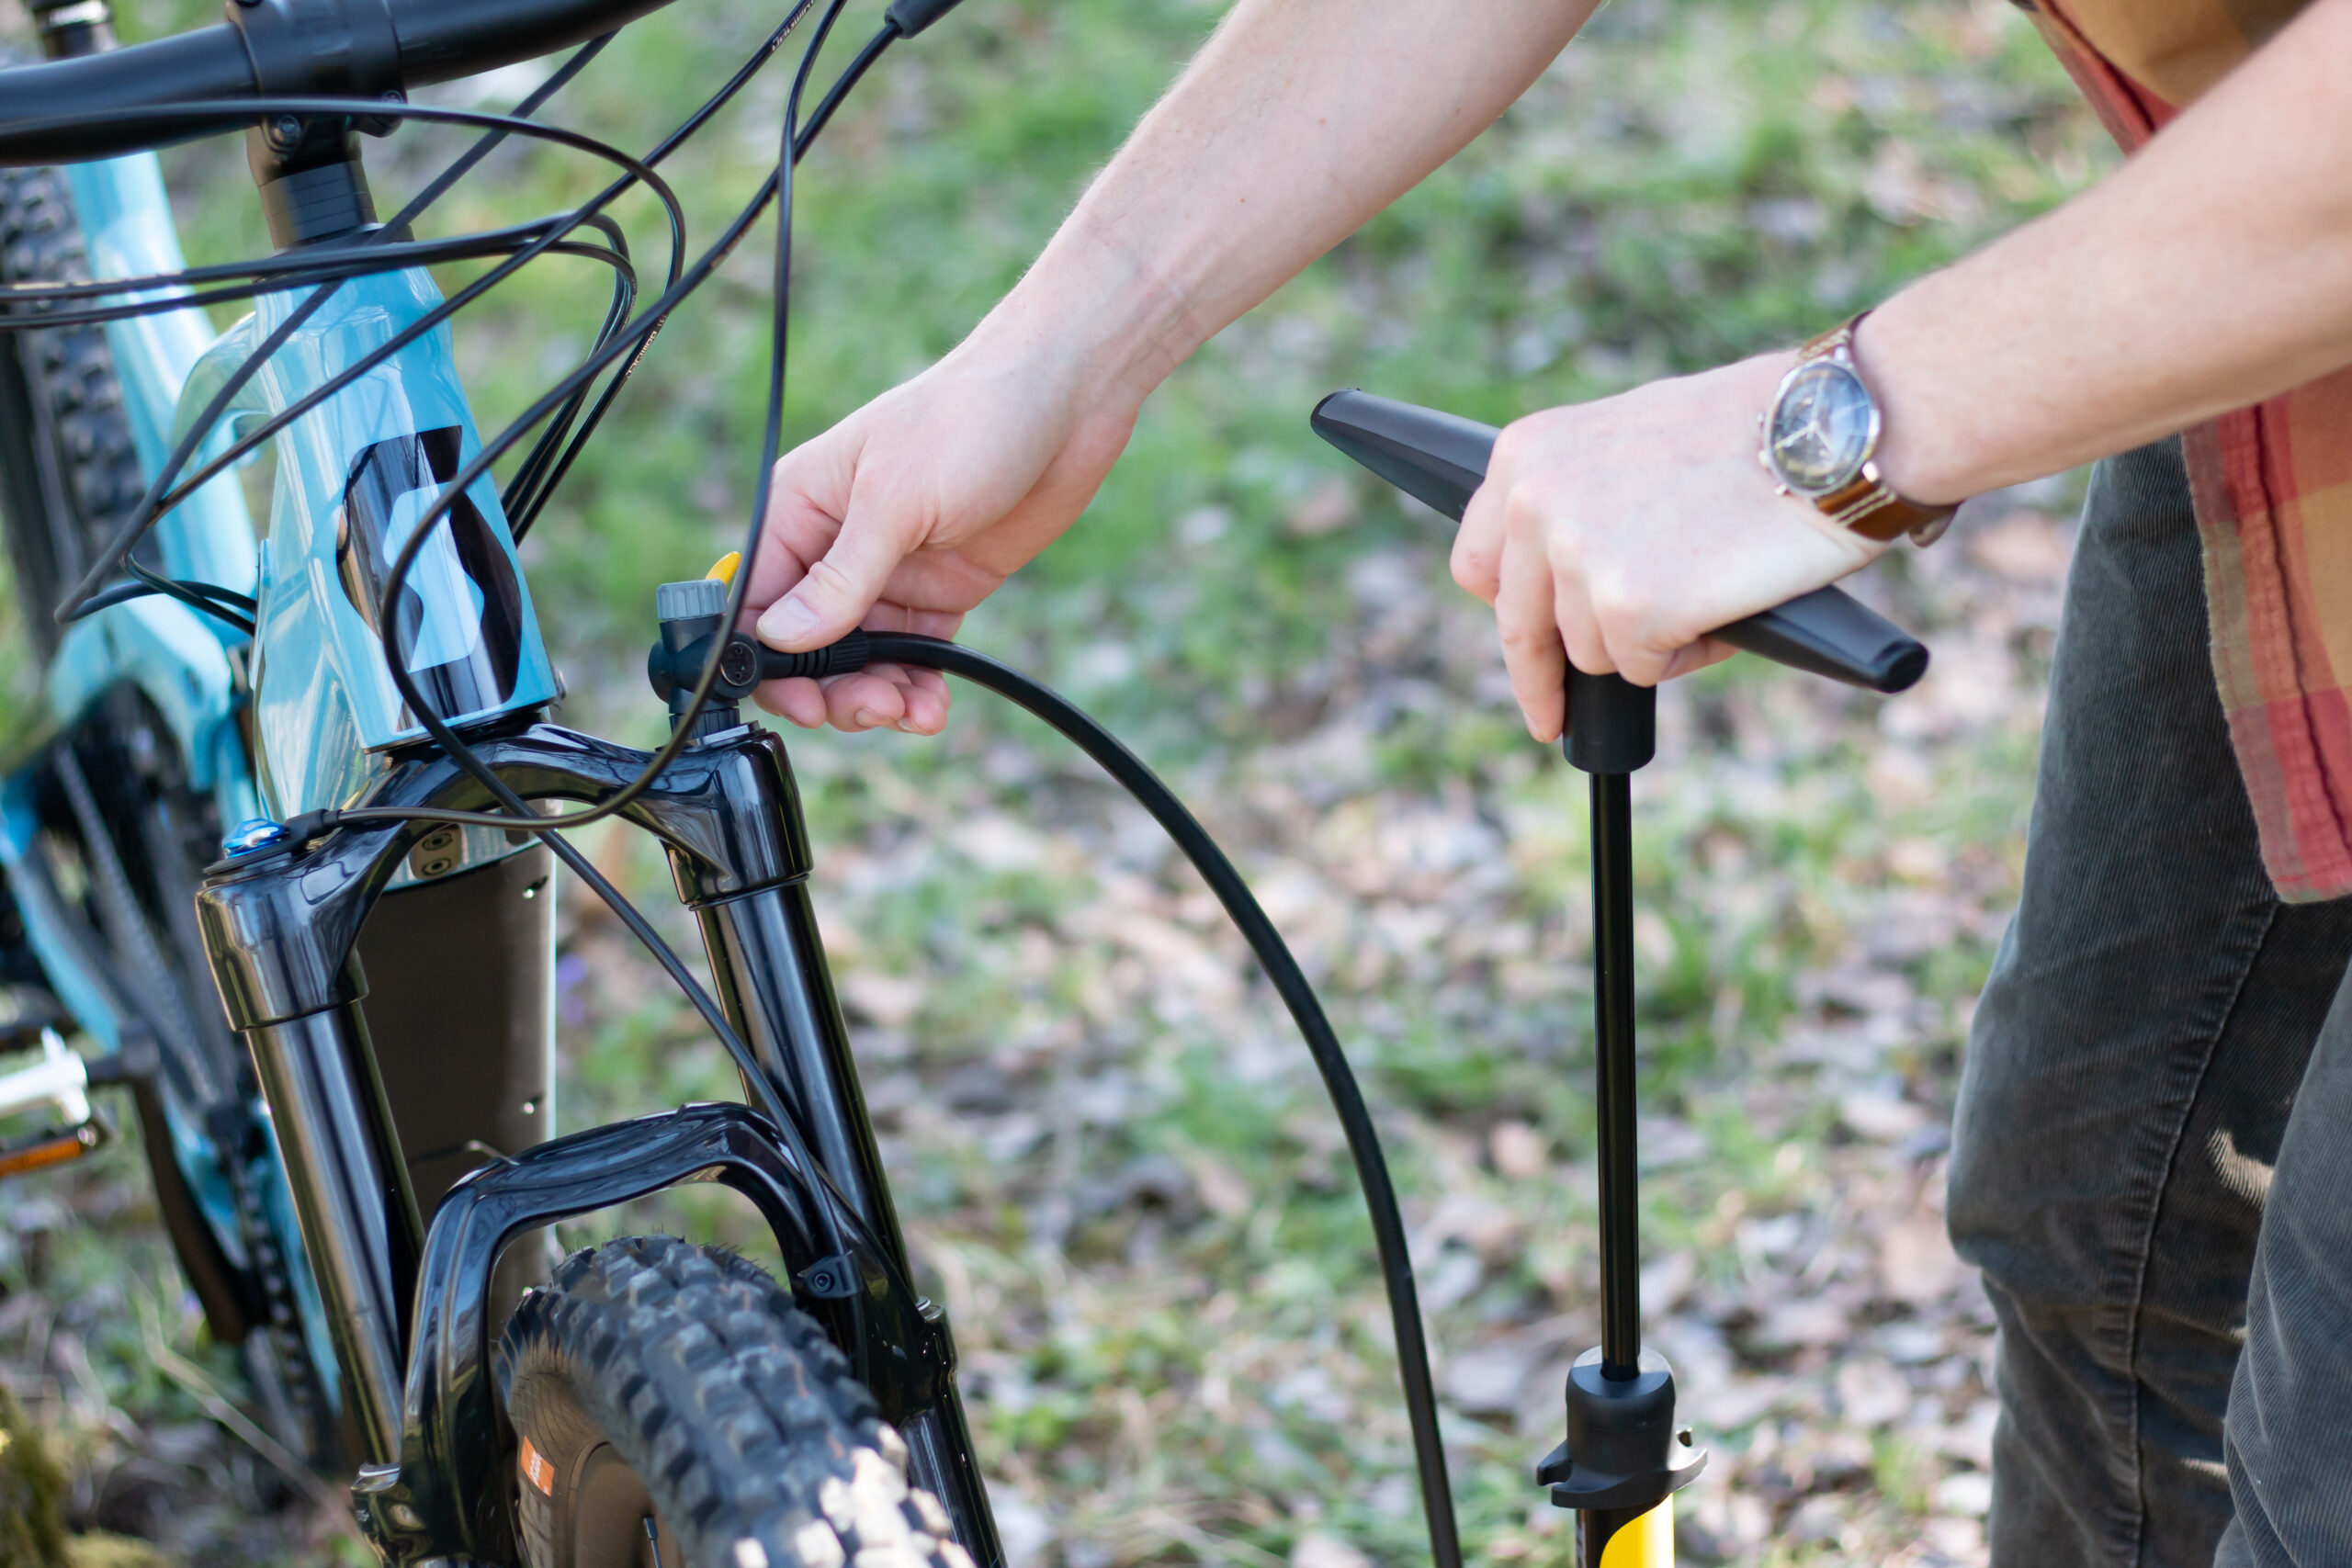
Inflate the fork
You can now fill in some air with the shock pump, 30 to 40 psi is sufficient at first.
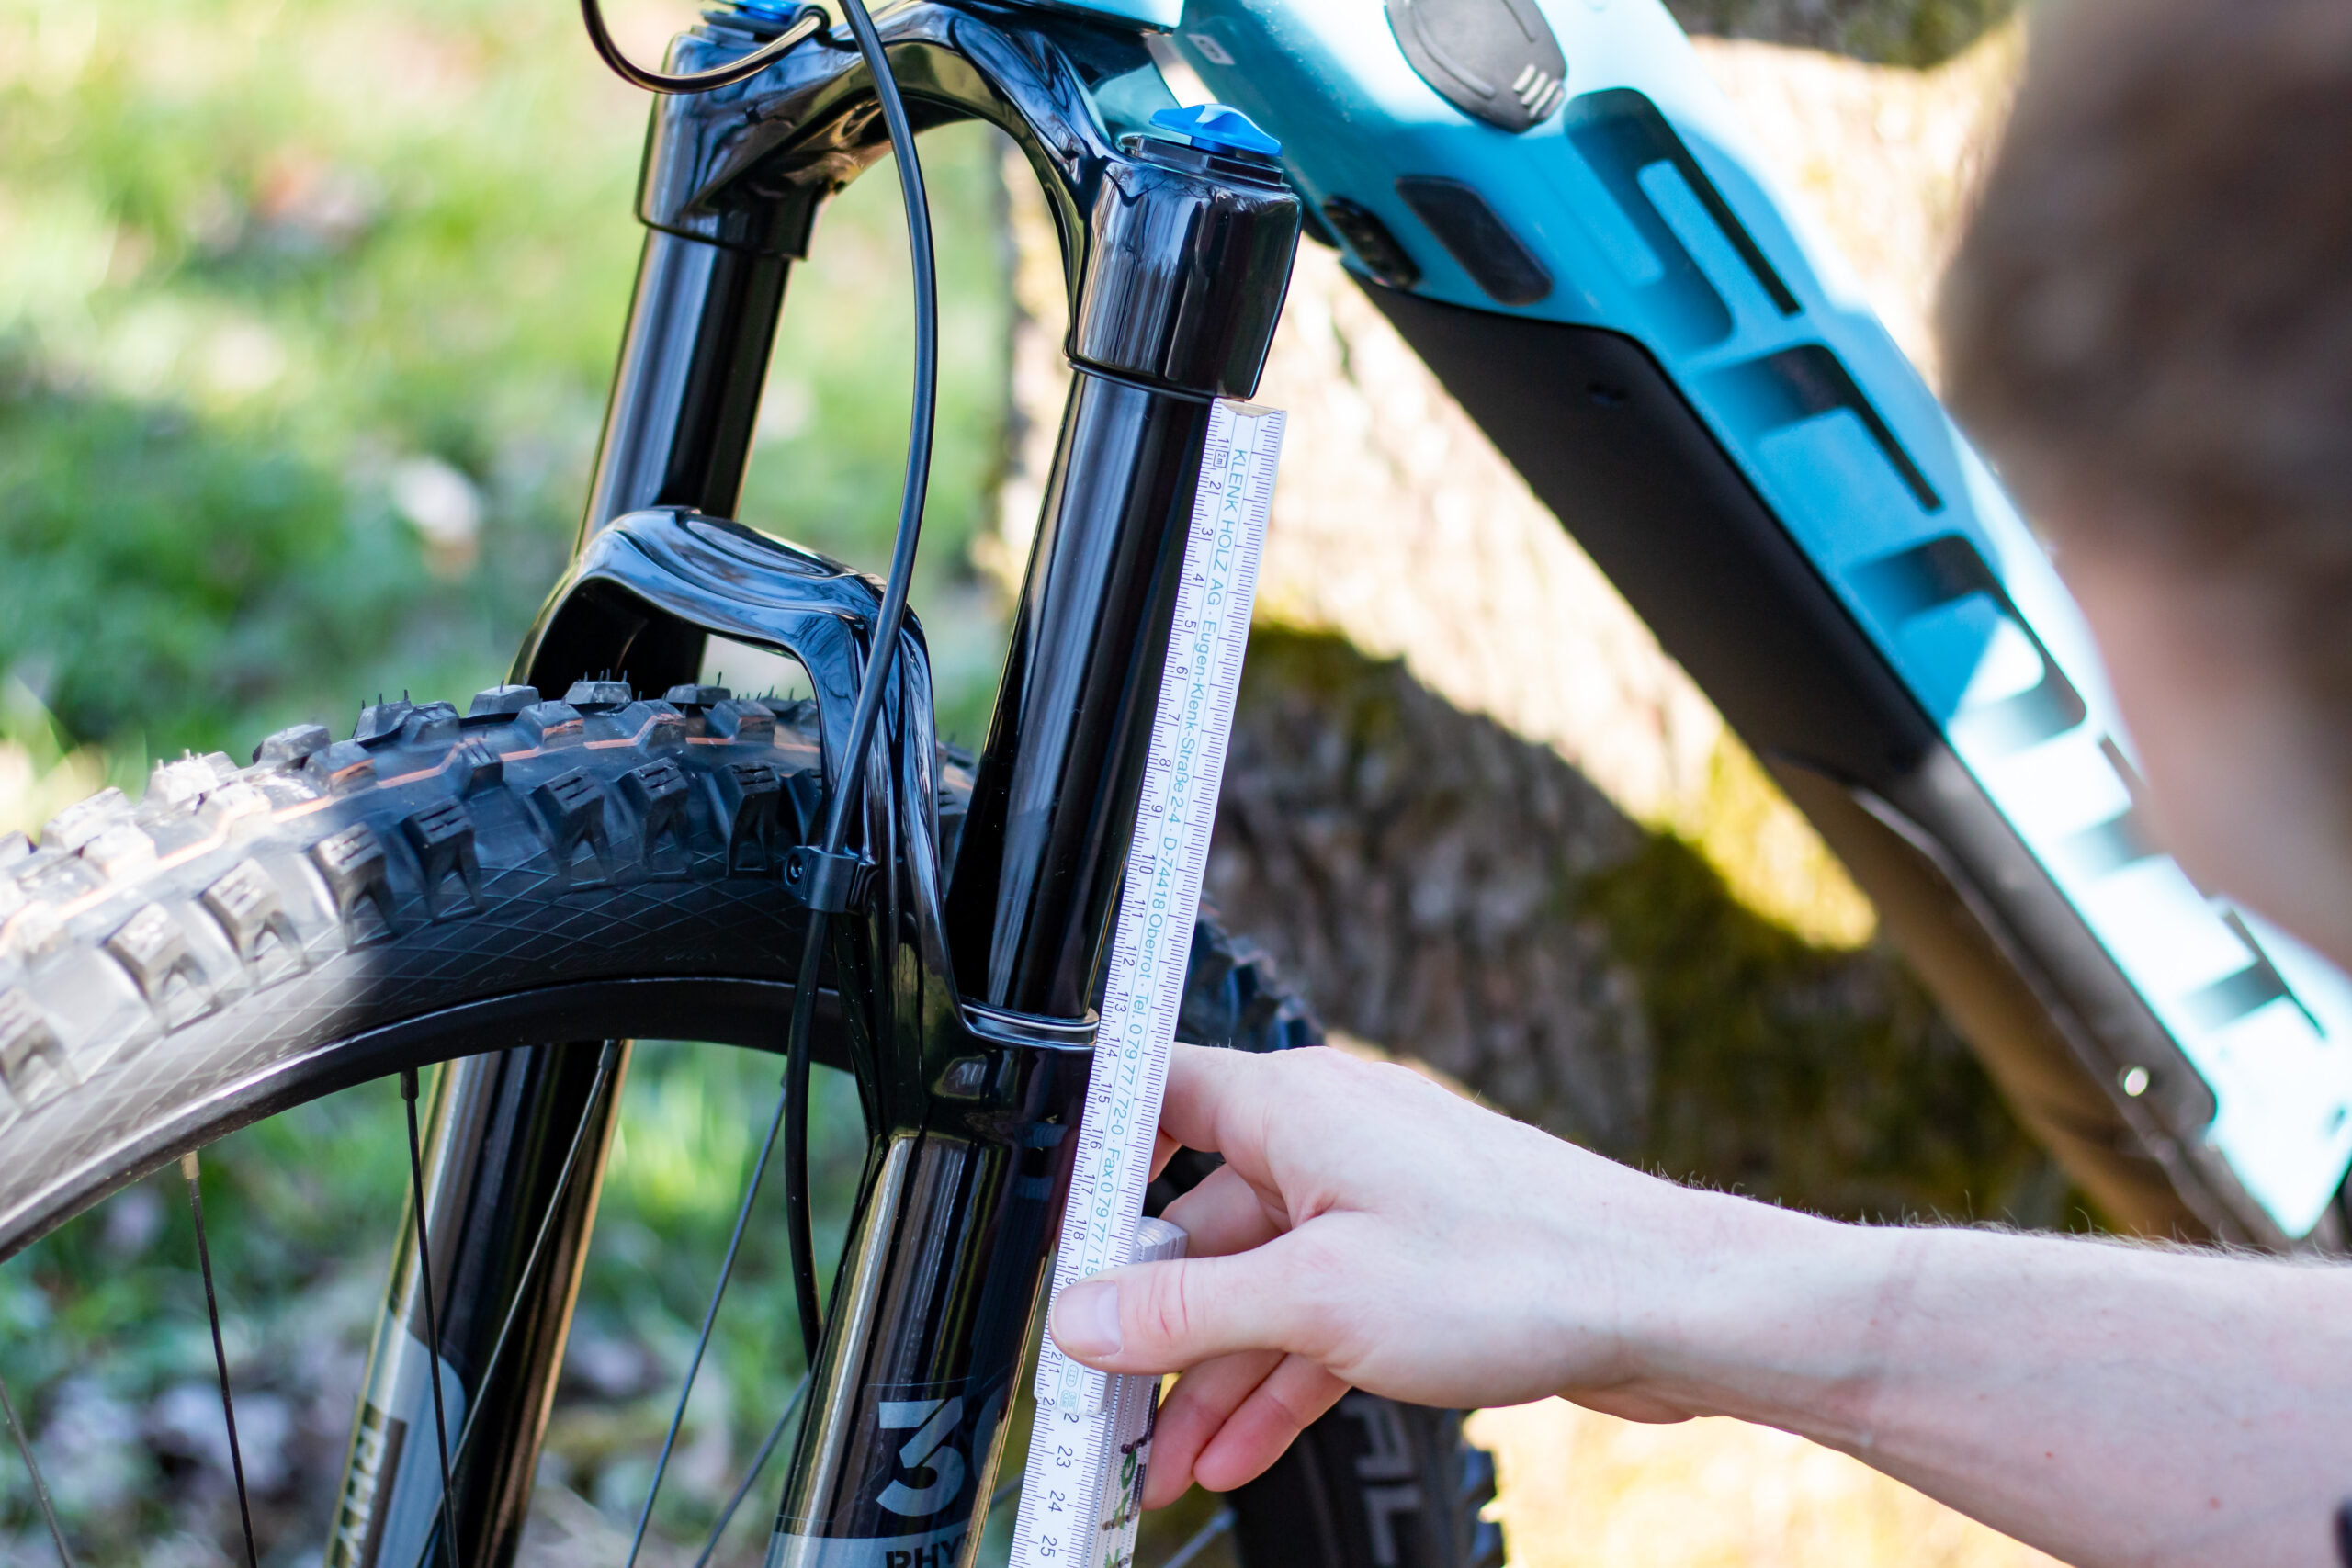
Measure maximum stroke
The suspension fork is extended and the O-ring has pushed up. The distance between the O-ring and the seal of the dip tube indicates the maximum stroke.
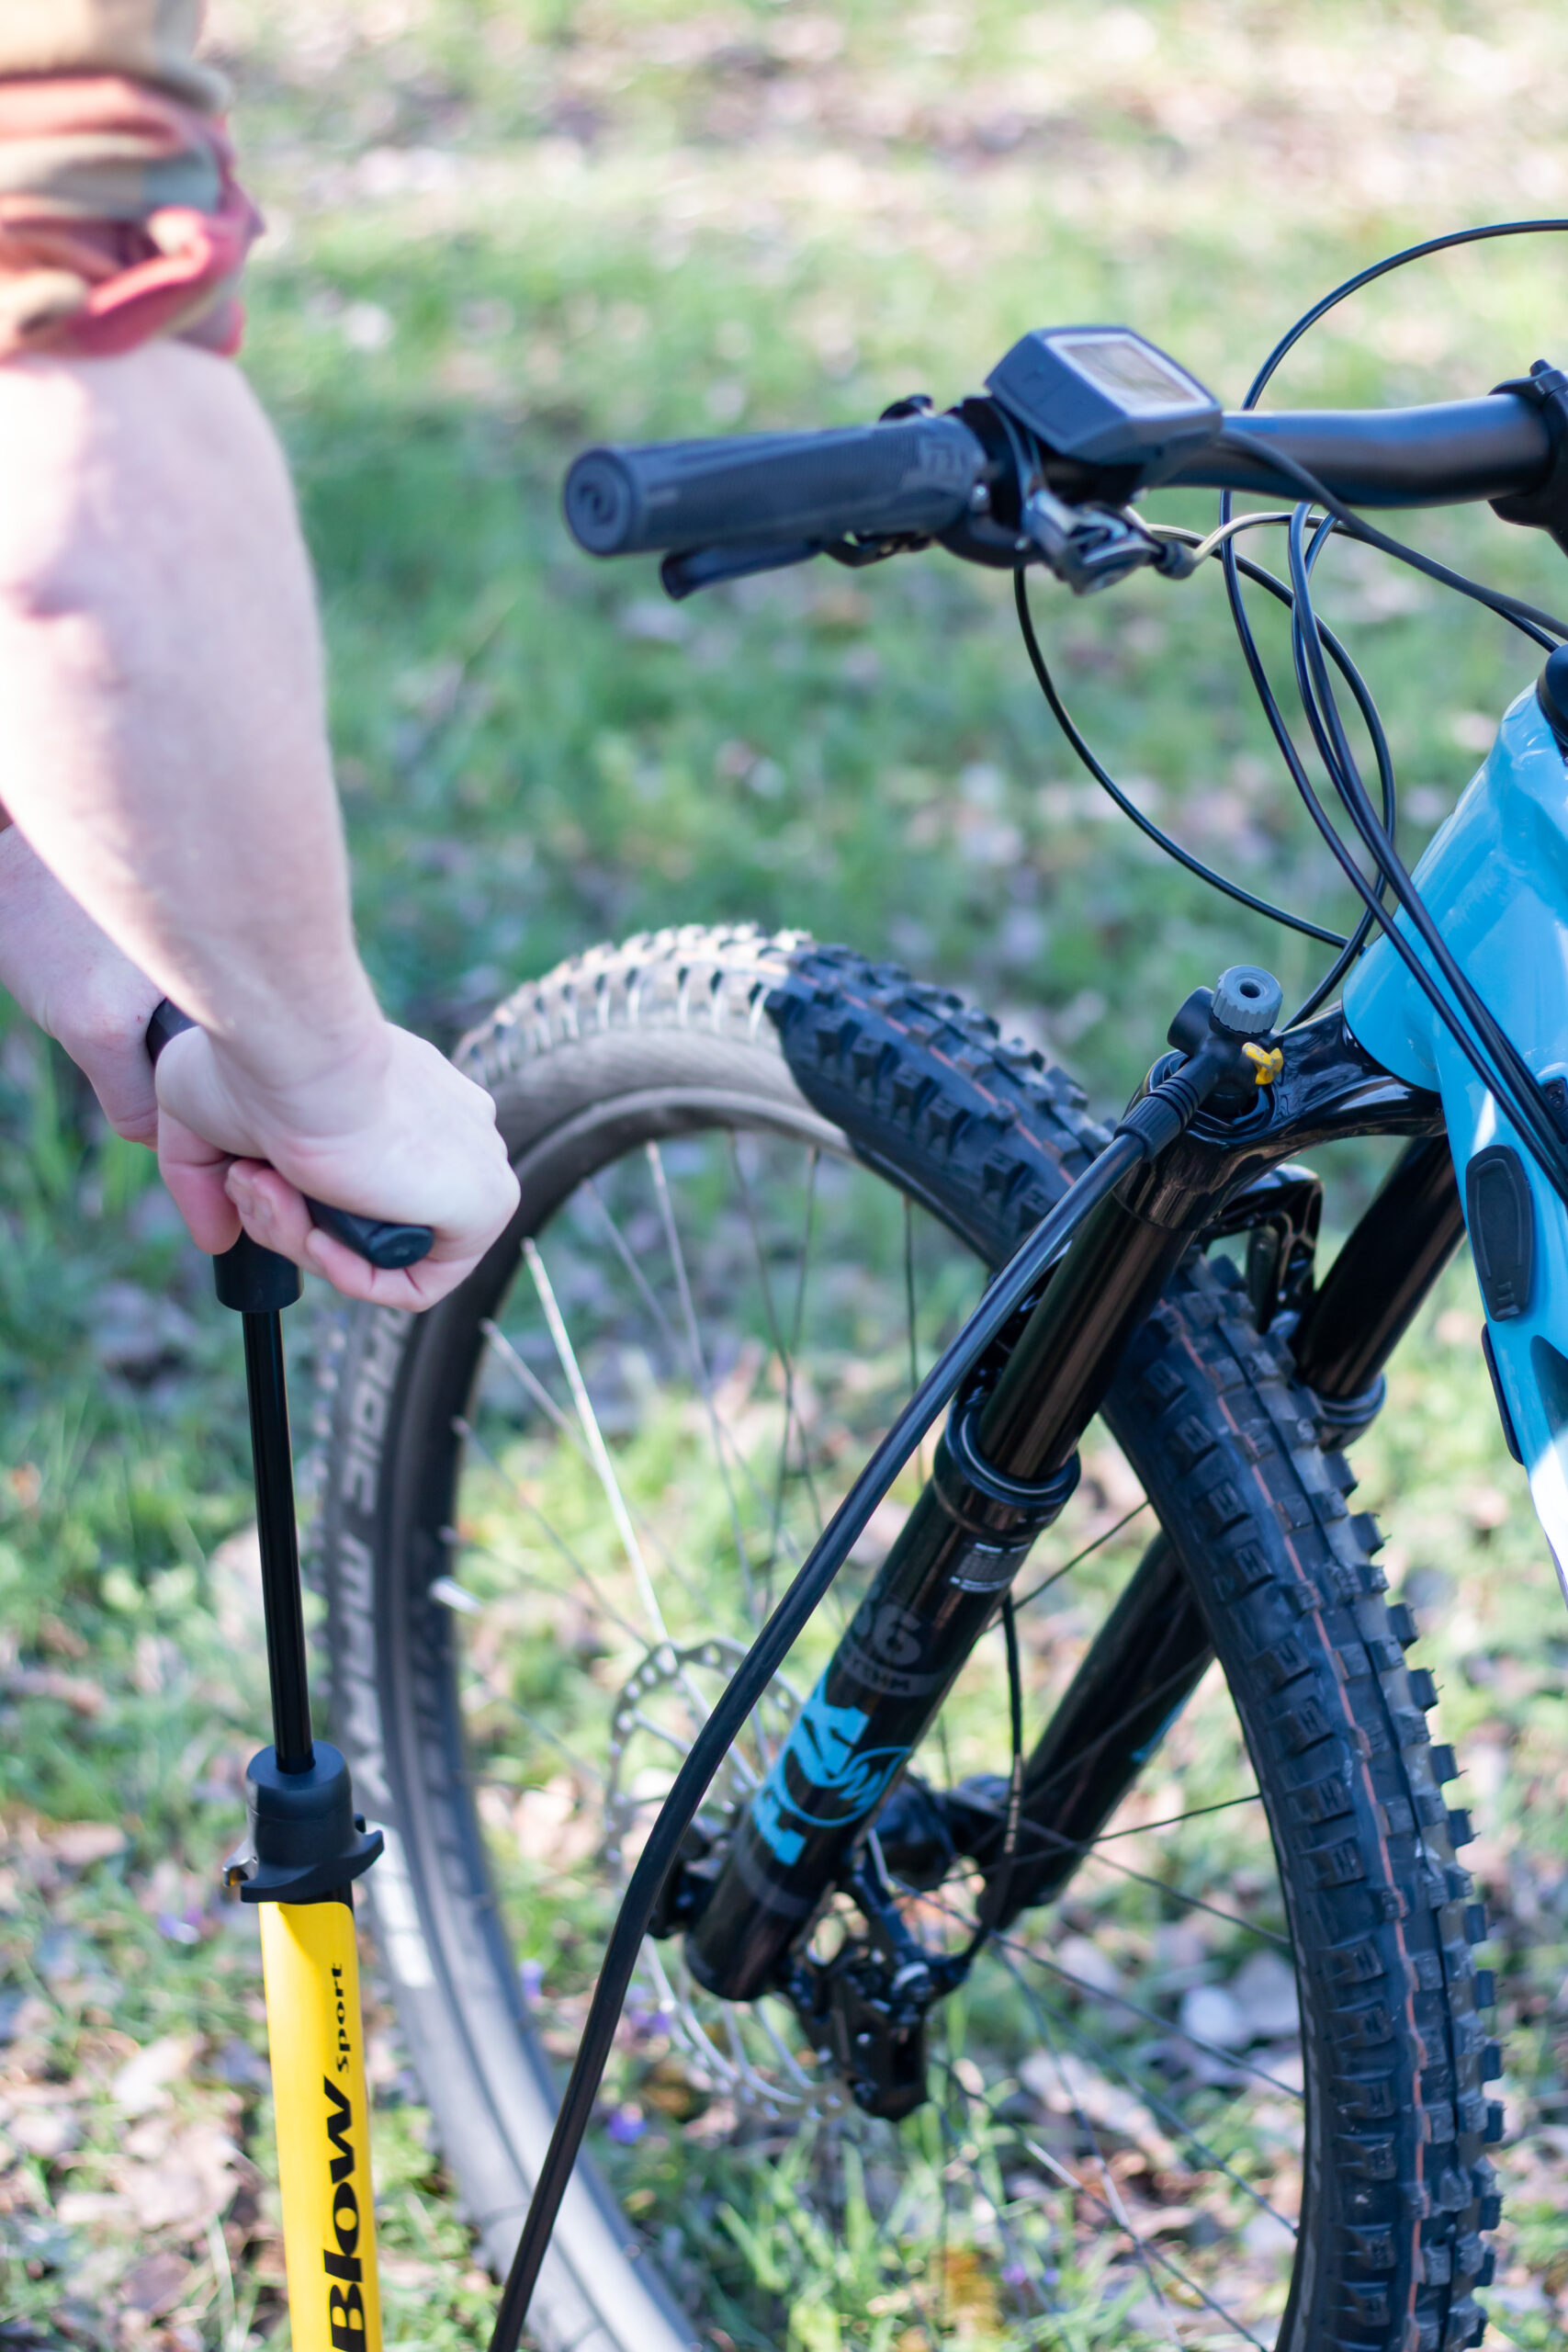
Determine the optimum air pressure
Now you can set or fill the appropriate air pressure. Depending on the rider’s weight, the psi values vary. Calculate 1 psi per 1 kg of body weight. Most manufacturers indicate the optimum value on their website or on the fork itself.
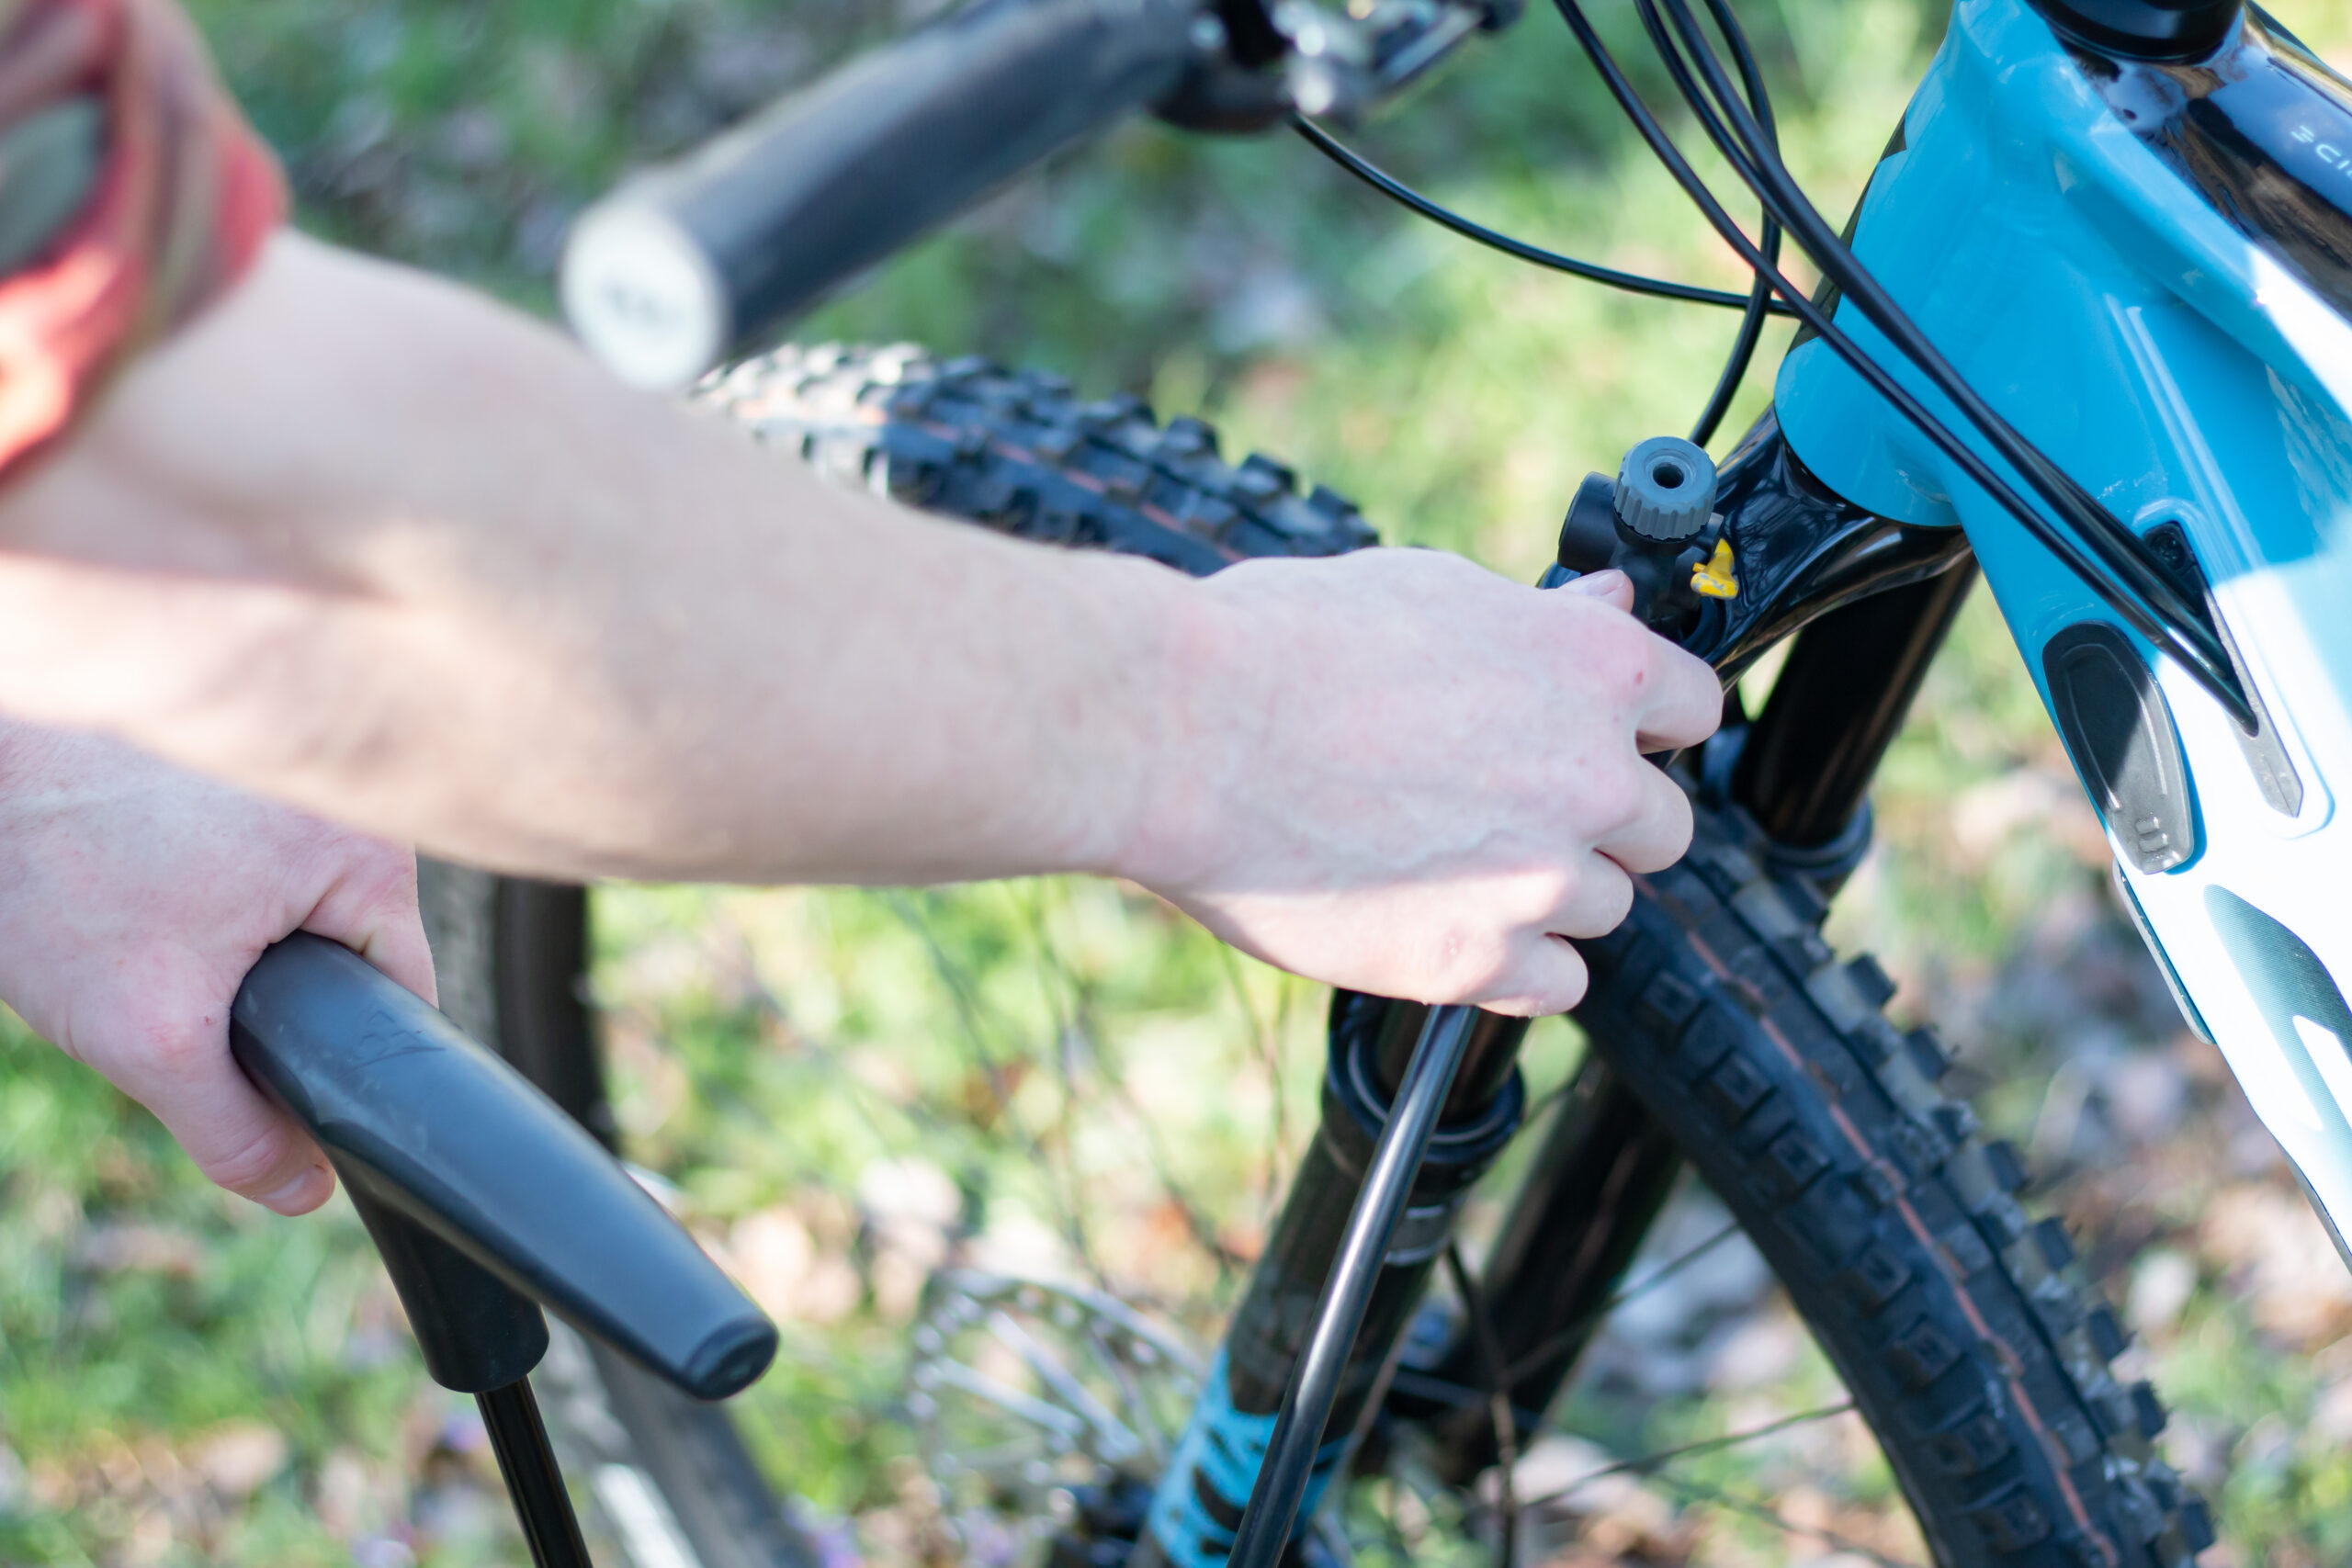
Adjusting the air pressure
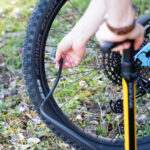
Attach the shock pump to the valve and pump the desired value into the fork. Be careful not to damage the valve.

Determine SAG
With the correct air pressure in the fork, you can now determine the negative suspension travel. The spring travel that compresses under the load of the body weight and without movement is called SAG
Sit on your bike in a comfortable position without pulling the brake levers. If you often carry heavy equipment, take it with you on the bike. Now push the O-ring down as far as it will go. When the suspension fork rebounds, you can now measure the distance between the seal and the O-ring and get your negative suspension travel.
Adjusting the SAG
With the values (maximum travel and SAG) you can set the negative travel. For cross-country bikes this is approx. 20% of the maximum travel, for all-mountain and touring bikes approx. 25% and for enduro bikes approx. 30%. If the value is below the desired value, you can let some air escape. If the value is too high, add a little more air to the fork.
Adjusting the remaining travel
Compress the suspension fork strongly. The distance between the O-ring and the maximum travel indicates the remaining spring travel. It should be approx. 1 cm.
Adjusting the rebound
The rebound adjusts the speed at which the fork springs back to its original position after a load. A strong rebound bounces back slower and a weak rebound bounces back faster.






Recent Comments